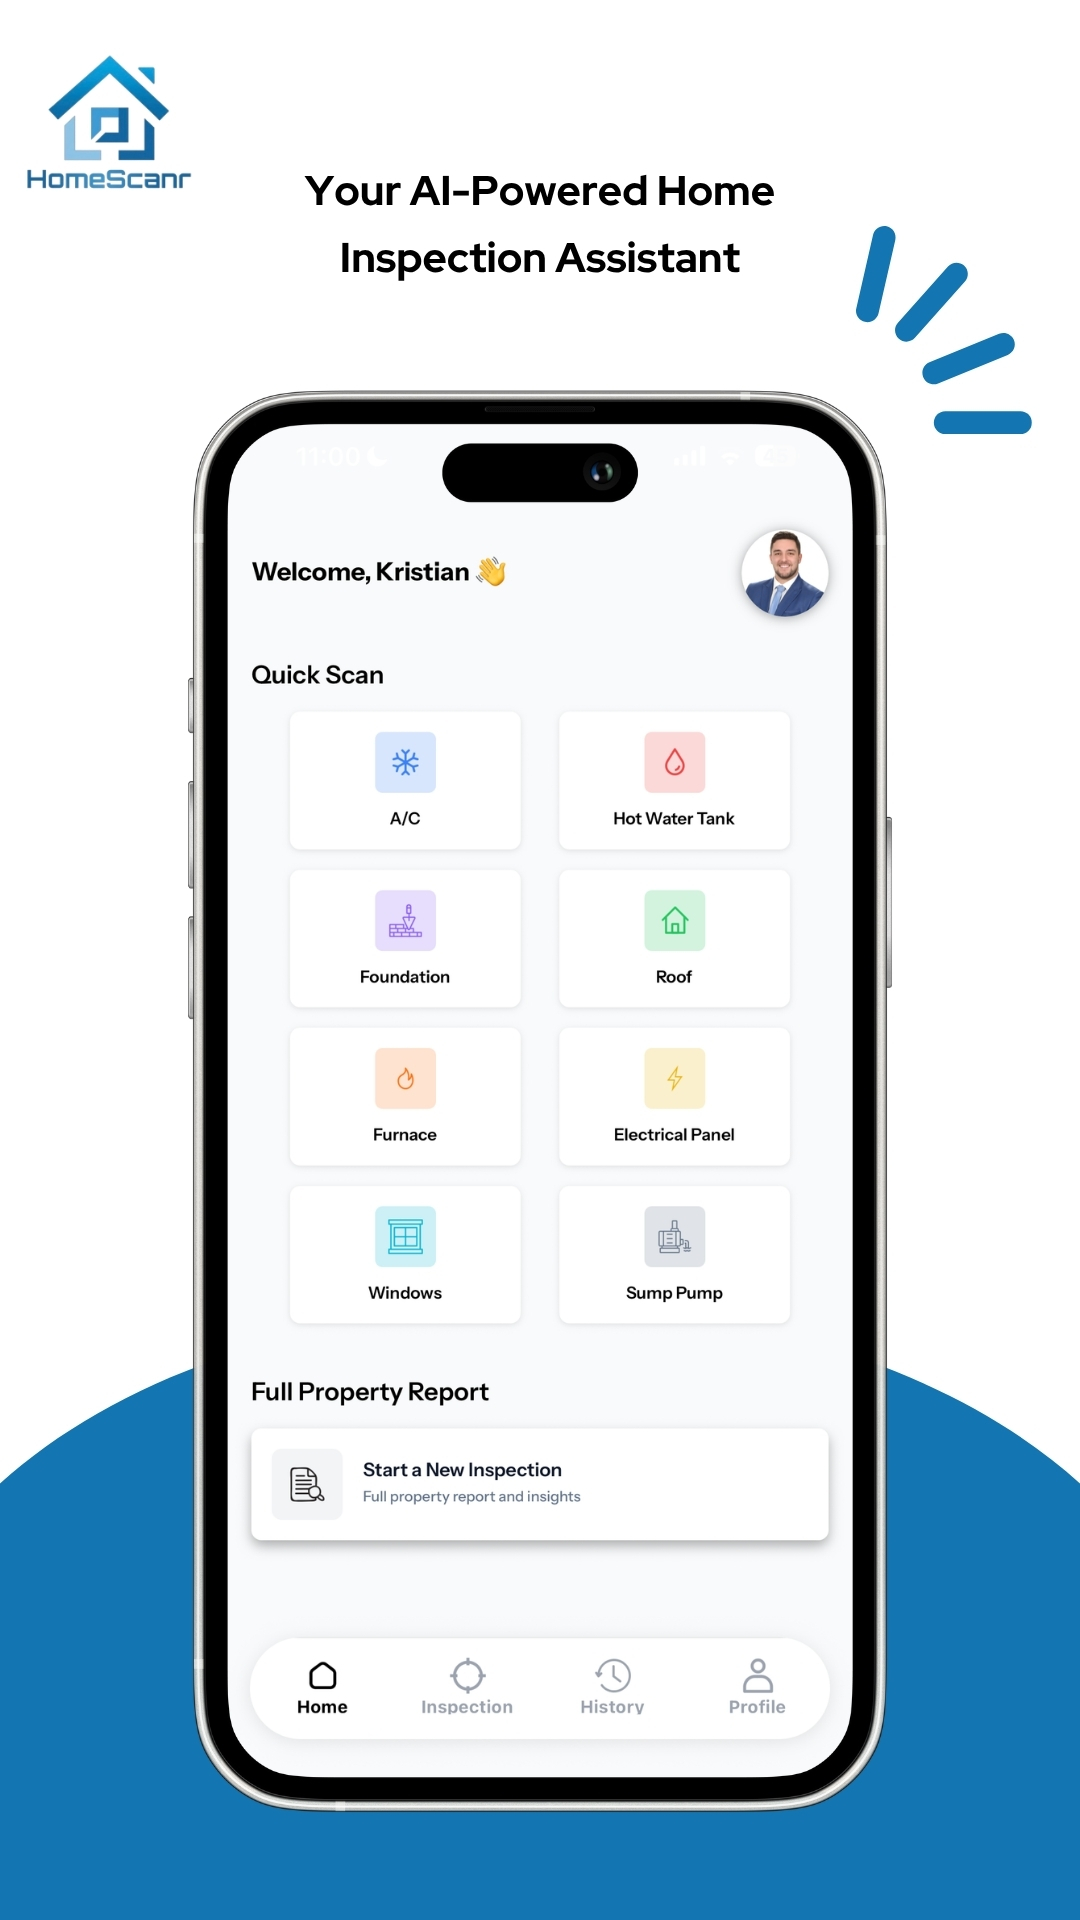
Start with permission and context
Follow the showing instructions and obtain permission before taking photos. Keep occupants, personal documents, family photos, and other private belongings out of your record. You usually need a photo of the component, not everything around it.
Organize the record by property before the next showing. A short note such as ‘basement utility room, furnace label’ is easier to use later than an unexplained close-up.
The practical photo checklist
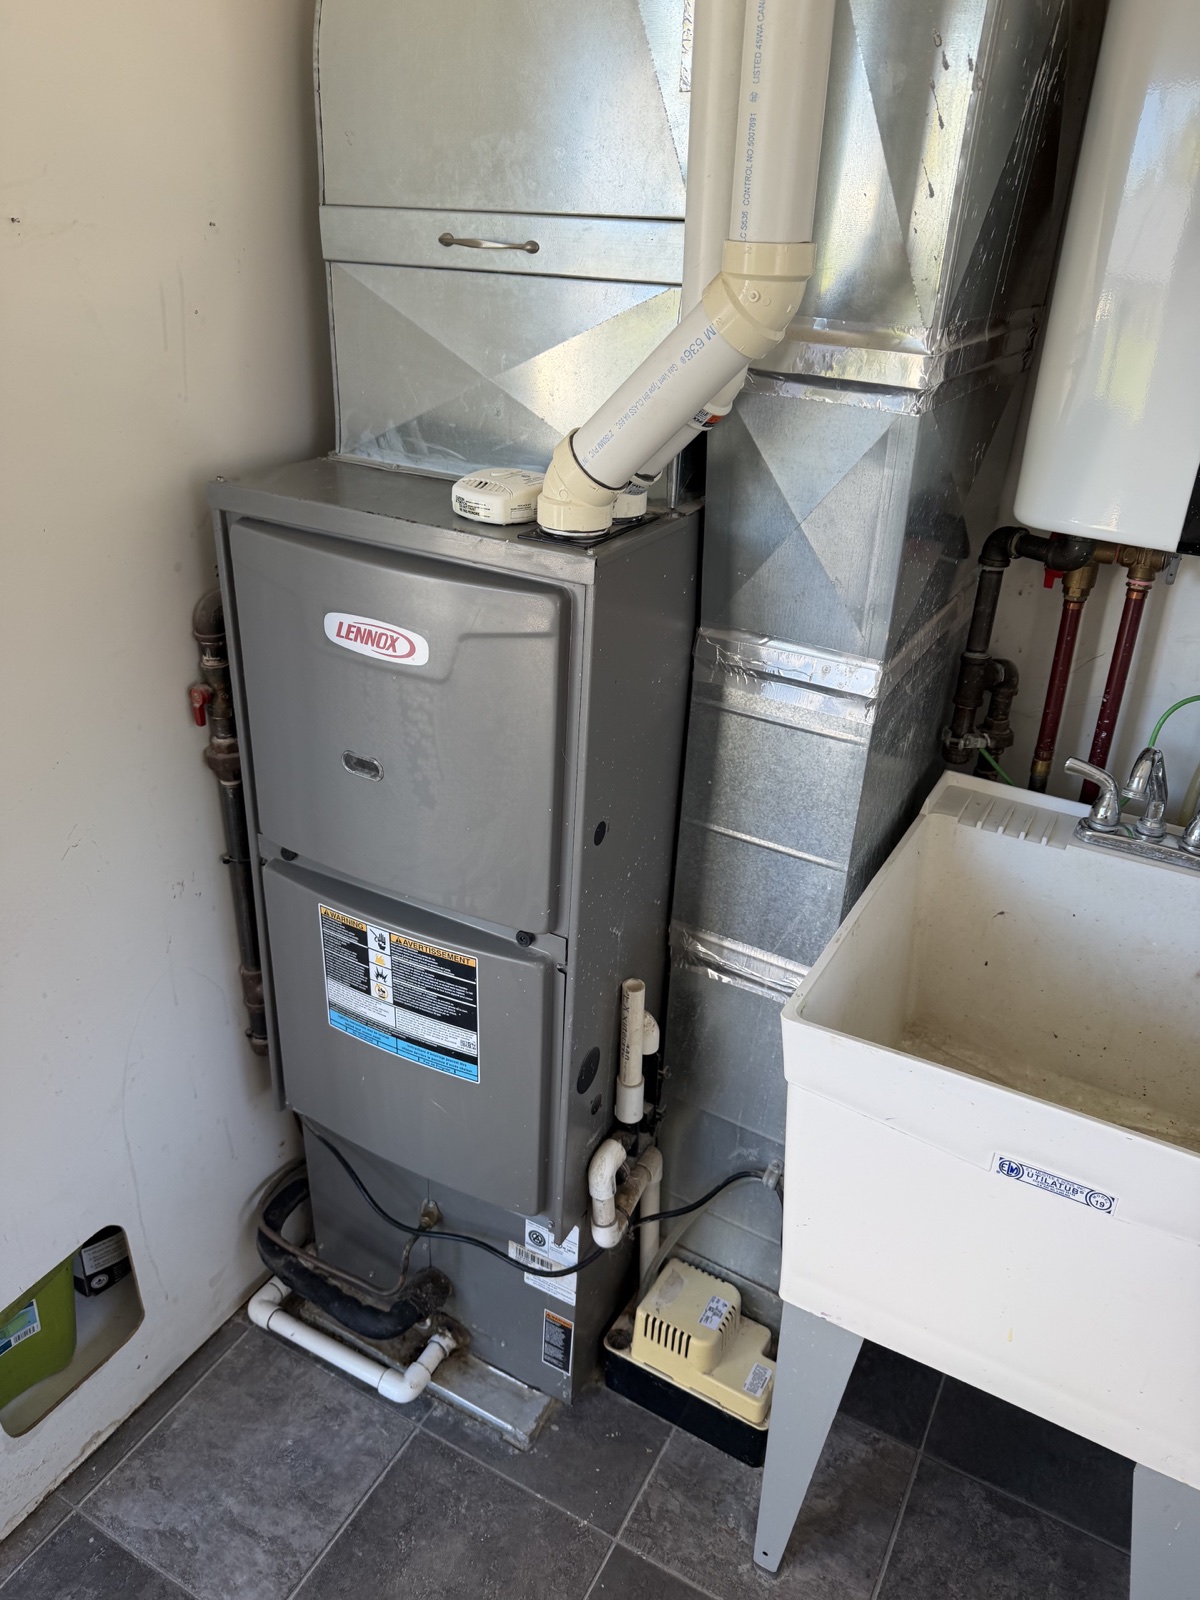
- A wider view that identifies the room or accessible area.
- A clear photo of the particular component your buyer asked about.
- Its visible equipment label, if it is accessible without operating or dismantling anything.
- A detail photo of the visible item you want to ask about, paired with its wider view.
- A written note for anything obscured, locked, inaccessible, or outside the agreed showing access.
- A short list of questions to ask the seller, inspector, or relevant specialist.
Keep context and label photos useful in different ways
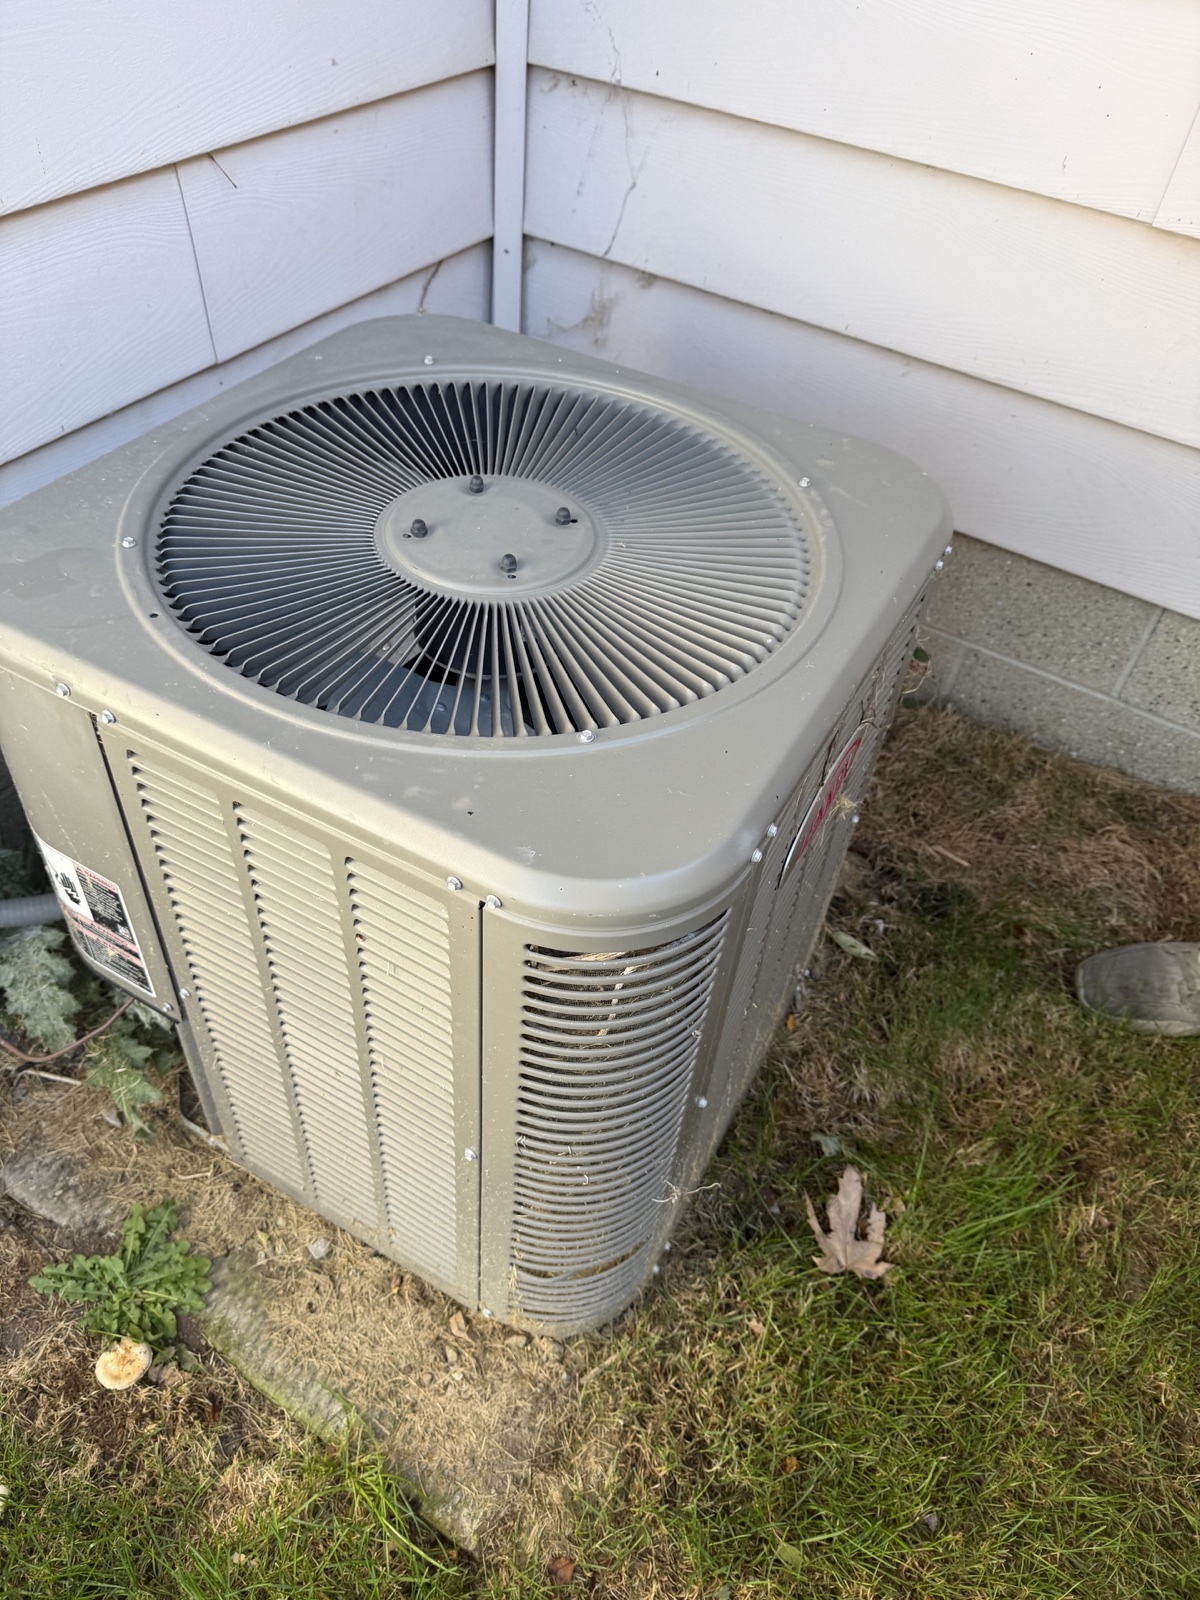
The wider A/C photo above shows the equipment and its surroundings. A separate close-up like the nameplate example below lets you review the printed fields. Keep both kinds of photo in your property notes, and check that you can read the label before leaving.
These supplied images illustrate photo types; they are not identified as the same installation. Keep your own photos grouped by property and component so a readable label is never attached to the wrong unit.
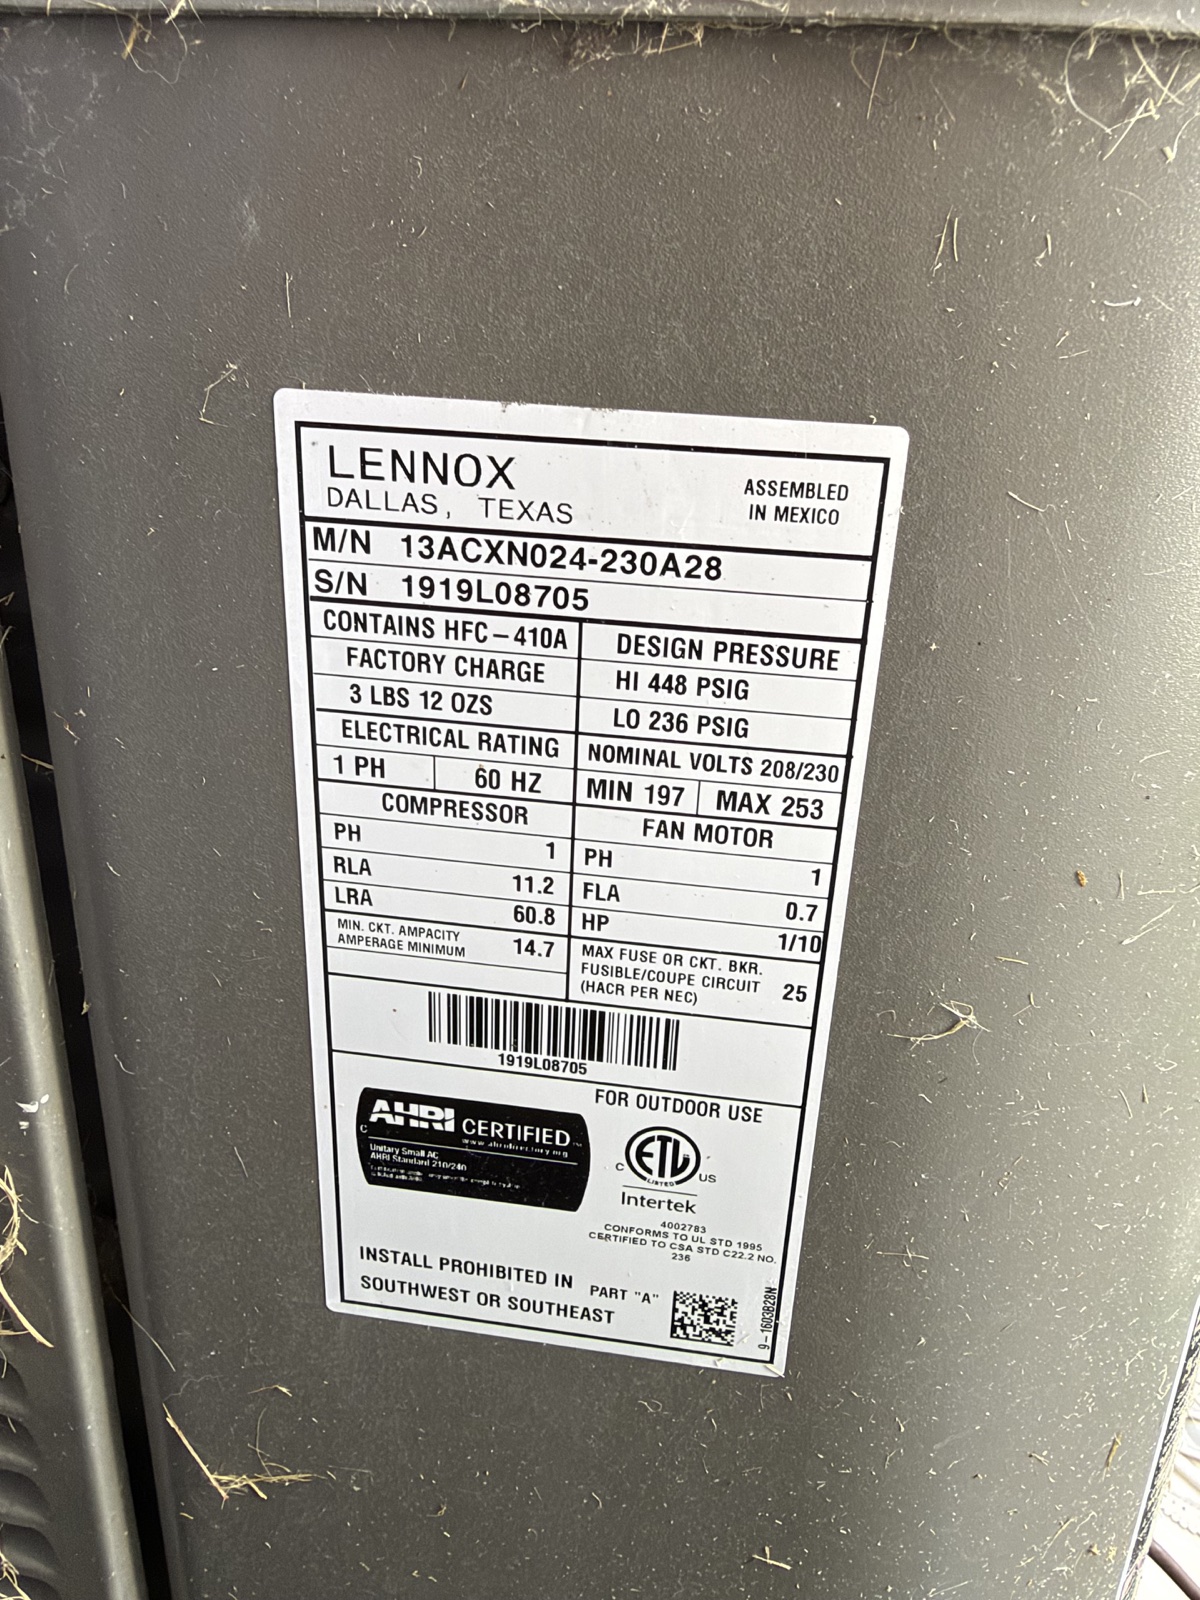
Use the equipment-label photo guide before your next showing ↗
Ask a question your photos can support
‘Can you read this model and serial number?’ is a focused request. ‘Is this house safe to buy?’ asks far more than a set of photos can establish. Keep the question close to what is visible, and record when the answer needs other evidence.
For a product-assisted workflow, use a HomeScanr Quick Scan for the specific question or the guided full report for a broader organized record. Review the output before sharing it.
Turn the record into a better inspection handoff
The Government of Canada describes a home inspection as a non-invasive visual evaluation of a home’s major systems and notes that access affects what can be assessed. Your showing photos can help you explain what you want the inspector to look at; they do not extend an inspector’s access or replace the inspection.
Send the inspector a short list of concerns and questions, with the relevant context photos. Ask the seller for the records that would resolve factual questions. Keep ‘not visible’ and ‘not yet verified’ in your notes when that is the honest answer.
Sources & further reading
- Government of Canada: Home inspections ↗Checked Oct 31, 2026
A practical documentation guide, not inspection, legal, or purchase advice. Prepared with AI assistance and the linked source.