Find the scan from the right visit
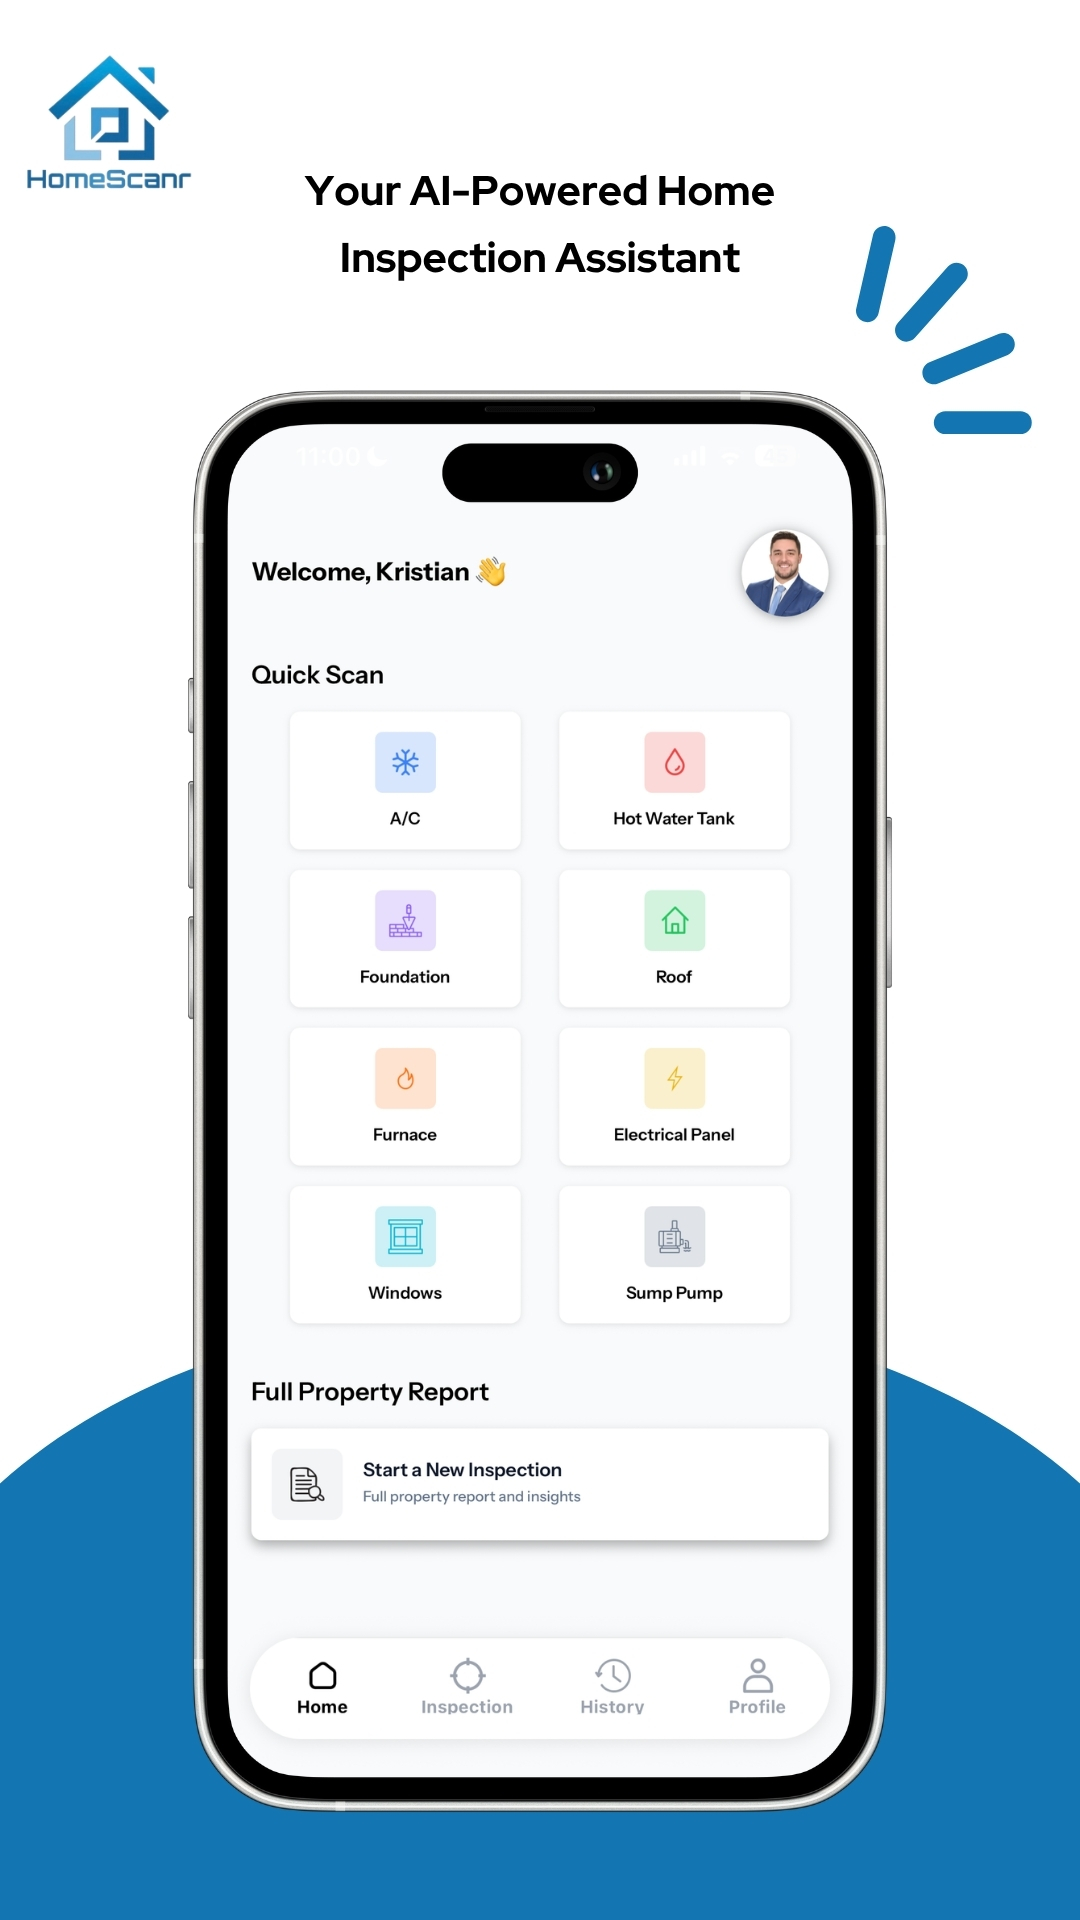
HomeScanr organizes saved scans and reports by property. Open the property's scans and compare the original photos from both visits. A wide shot with a landmark, like the basement stairs, can help you identify the area in a tight close-up.
Say the first photo shows a patch of flaking paint on the wall left of the stairs. On the second visit, stored boxes covered the bottom of that wall. Keep the first photo for reference and note what you could see on each visit. Ask ahead whether the area can be made accessible for the inspection.
Keep two showings separate
HomeScanr’s property-based history gives you a way to revisit each home’s scans. Open one property at a time and compare its saved photos with the showing you remember. Use the listing’s address and unit number to check your own notes before combining observations into a comparison.
For a hypothetical afternoon with two showings, your separate comparison notes might read as follows. Use the actual property details in your private notes.
- Property A, bungalow. Furnace in the utility room. The wide photo shows where it is, but the label close-up is blurred. Open question: can we obtain a readable photo of the whole manufacturer’s label?
- Property B, townhouse. Hot water tank beside the laundry area. The seller described it as recently replaced, but you did not photograph its label or see an installation record. Open question: is there an installation invoice or service record available?
- Before comparing the homes, reopen the corresponding scan for each entry. Keep what the photo shows, what someone told you and what remains unverified clear in each note.
Resolve an uncertain match before sharing
If you cannot tell which property a close-up belongs to, leave that observation out of the comparison until you can check it. Look for a wider photo from the same visit that shows the surrounding room. A phone’s photo date can help you find nearby images, but a date shared by both showings does not establish the property.
If the location is still uncertain, request a new context photo and label photo from the correct home. Hold any report or message that relies on the uncertain image until you can verify the match.
Give your inspector a location and a question
Put the location, observation and question together in a short note. For example, “Basement wall left of the stairs. I saw flaking paint near the floor at the first showing. Could you look at that section for signs of moisture if it’s accessible?”
Show the photo that helps the inspector find the spot. If you have several questions, put any that depend on access near the top so you can ask about them before the inspection.
Close the loop with the inspection report
After the visit, check the inspection report for what the inspector observed in that area and any limits on access. If the wall was still covered, leave the question open in your own notes and ask what follow-up the inspector suggests.
The saved scan helps you remember what was visible at the showing. Use the professional inspection to assess the property and decide which observations need further evaluation.
Sources & further reading
- HomeScanr App Store listing, organized scan history ↗Checked Nov 12, 2026
- CMHC’s Homebuying Step by Step guide, home inspection section ↗Checked Nov 10, 2026
Illustrative product walkthrough using a HomeScanr dashboard screenshot. The basement and two-property examples are hypothetical. Updated November 12 with a comparison-note example and steps for an uncertain photo match. Prepared with AI assistance using HomeScanr’s product information and linked sources.